Nowadays, our home WiFi networks need to reach not only a few computers or phones, but also a variety of smart-home or IoT devices in general, like thermostats, smoke alarms, bulbs, window sensors, you name it. Most of these devices have one thing in common: Their WiFi capabilities are limited compared to regular computers or phones. While some devices work out-of-the-box with some WiFi routers, some combinations of IoT devices and routers/access points just don’t work and need some configuration.
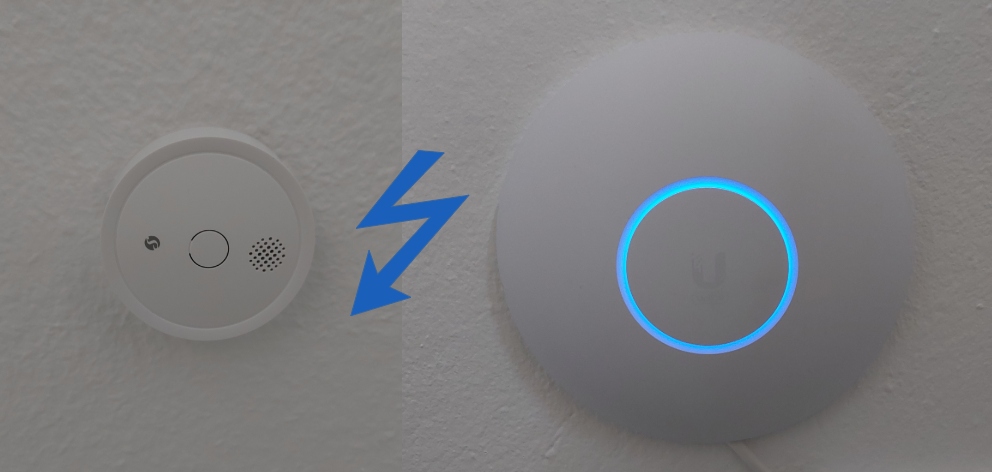
What inspired me to write this article was the combination of the Ubiquiti Unifi U6 Pro access point and the Shelly Plus Smoke Alarm, that caused some issues in my setup. But this combination just acts as an example for the following article, since the concepts can be applied to various combinations of devices.
Fortunately, there are way fewer steps necessary than I initially thought when I started troubleshooting this problem. Since just setting up the access point using the Unifi Server desktop app, instead of the mobile app, might already solve a lot of connectivity problems. If not, using the desktop app gives you additional settings especially useful for IoT-devices.
But let’s jump into the guide to see what’s going on in detail.
Table of Contents
Initial situation and problem
Before we go into the troubleshooting I will give you a brief overview of my network setup, which is likely to be found in many households. It basically consists of:
- A WiFi router broadcasting two WiFi networks with 2.4 and 5 GHz simultaneously (network A and B)
- An additional access point somewhere else
- With wired ethernet connection to the WiFi router
- Also broadcasting two WiFi networks with 2.4 and 5 GHz simultaneously (network C and D)
- Network A, B, C, and D were all assigned the same SSID and password
- It’s therefore detected as a single WiFi network by devices
- But there are still multiple underlying networks present
- Devices will automatically connect to the network that suits best
The last point is our issue. While regular computers and phones can handle 2.4 and 5 GHz, and various WiFi protocols, IoT devices often lack that capability! They, therefore, try to connect with access points broadcasting multiple protocols, and somehow the device and the access point/router are not able to negotiate on the right connection that works. The result is that no connection is established at all.
Since a usual setup comprises a lot of IoT devices but only one router or access point, it makes sense to start with checking the access point/router configuration. In my case, all my smart devices had no issues connecting with my router directly (a Fritzbox 6660 cable) but they had issues connecting with the access point Ubiquiti Unifi U6 Pro.
So let’s look deeper into the setup and configuration of a U6 Pro.
Setting up the Ubiquiti Unifi U6 Pro access point
I was running my network already for months and observed no issues with my computers and phones. Only when I added some Shelly smart devices in the coverage area of my access point the first issues occurred.
I was operating the U6 Pro access point in the standalone mode, since I did not have any other Ubiquiti/Unifi devices and wanted to keep it simple. Consequently, I was initially setting up the access point using just the Unifi android mobile app.
In retrospect, that was rather a hindrance, since with the mobile app you are quite limited in terms of having access to all settings or the general ability to troubleshoot. So to have access to all necessary settings of our access point, we need to switch over to the desktop application.
Ubiquiti offers a centralized solution to control network devices. To be honest, I did not fully grasp the naming conventions of all network devices and related software (Unifi controller, Unifi OS, Unifi network application, Unifi server?) but I went with the UniFi Network Application 9.5.21 for Windows, that worked for me.
When you install that software, it installs an Unifi server that runs in the background on your computer:

Figure 1: Unifi server running on a local machine.
By choosing Manage Server in Browser we can enter the network control/overview interface. At one point in the
following steps you will be asked to log into your Unifi account. You can use an existing one, or create a new one, but it’s
also possible to just create a local one for the Unifi server on your machine.
The first step in configuring our access point is then to name our network:

Figure 2: Naming the network.
If you performed the setup of the U6 Pro with the mobile app, like I did, you will see a more or less blank network overview like so:

Figure 3: Blank Unifi network with no devices attached.
To see your Unifi access point, you need to adopt it in the server. So you basically need to seize the control
from the app and transfer it to the server. By clicking on Unifi Devices in the left menu you should
already see the access point, but it’s still Managed by Another Console (your mobile app). By clicking on the device
in the list you directly get the instructions what to do in order to adopt the device:

Figure 4: Adopting an Unifi access point.
After holding the reset button as shown, the control over the access point is transferred to the local server but in this process it’s also deactivating its WiFi networks! For further configuring the access point you should, therefore, be in the range of your router’s WiFi (or have a wired connection to the router).
When the process finished successfully, it will appear in the list as an online device:

Figure 5: Adopted access point with deactivated WiFi.
As seen in Figure 5, it directly mentions the deactivated WiFi on the right. So to activate the WiFi we need to follow
the suggestions and View WiFi settings:

Figure 6: WiFi settings view.
By clicking on Create New we create our WiFi network, where we basically just recreate the networks we had before.
There we set our SSID as the Name and use the corresponding password. Usually, we use the same SSID and password for all
WiFi networks in the house as mentioned in the introduction. Of course, you are free to
assign individual SSIDs and passwords for each network.

Figure 7: Creating a WiFi network.
With this, we successfully adopted the U6 Pro using our desktop application and now, we have full control over all settings, that were previously not available to us when using the mobile app only.
At first glance, we just recreated what we had before but now with a desktop app instead of a mobile app. But for me, this already solved the issue! Shelly devices are now able to connect to the access point. It seems like the desktop application configures the access point somehow differently during setup compared to the mobile app, which might be beneficial to IoT devices.
But we won’t stop here, since this might not work with all IoT devices and the desktop application provides settings for these exact use cases.
Special settings for IoT devices
If your IoT devices still can’t connect to the access point, you can take a closer look at the advanced settings
of your WiFi network (see Figure 7). Ubiquiti offers some presets for IoT devices. You can use them by ticking the box for
Enhanced IoT connectivity. This will automatically adjust some other settings in the advanced section, like using 2.4 GHz
only, or deactivated band steering, and some more.
I hope this helps and thanks for reading!